DIY Ceiling Light Fixture Made With Branched Out Socket Splitters
While electrical projects might seem intimidating to the first DIYer, this ceiling low-cal fixture project is one that, really, anyone can do. If you lot can spiral in a lightbulb and wield a can of spray paint, you're more than qualified to tackle this chic lilliputian lighting number.
 View in gallery
 Materials Needed:
- one porcelain awning
- 13 "Y" socket adapters/splitters*
- fourteen clear earth lightbulbs (25 watt, or 2 watt globe LEDs)*
- 1 ceiling medallion (optional, only recommended. Instance shows a ten" plastic medallion, spray painted white before starting)
- Aureate/metallic spray pigment
- Painters' tape (just a little)
 View in gallery
 *Tip: The number of socket splitters y'all'll apply is exactly 1 fewer than the number of globe lightbulbs yous'll need. For example, if y'all want a smaller branch light with only 10 socket splitters, you lot'll need eleven lightbulbs.
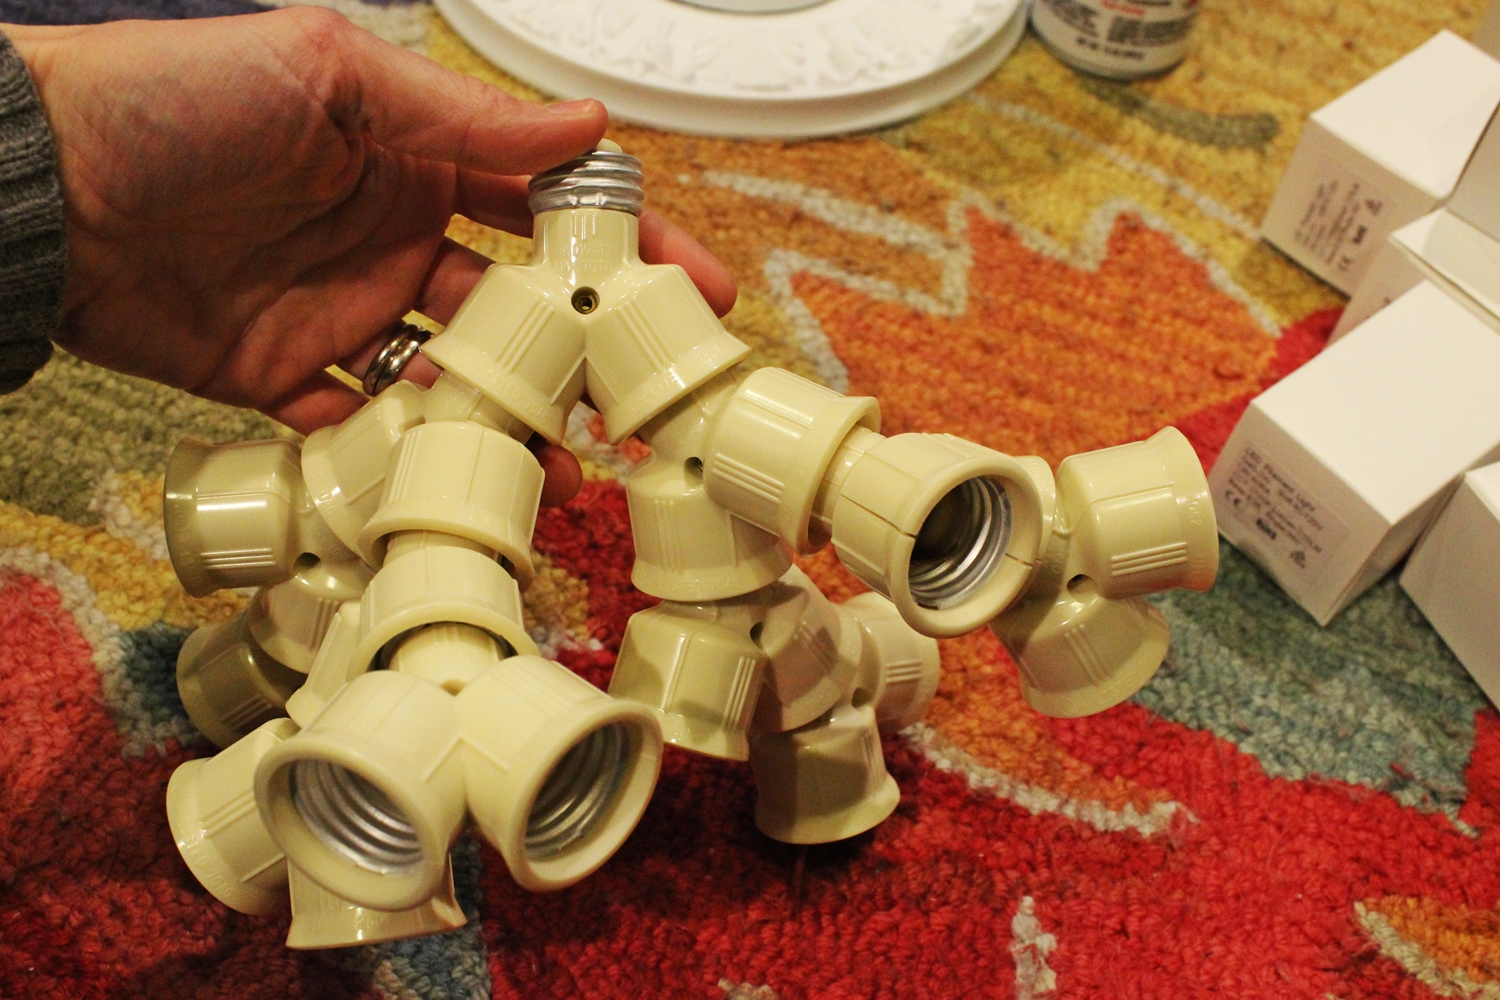
Step 1: Gather socket splitters.
 View in gallery
 This is a therapeutic and fun procedure, but you'll want to start with one socket splitter and co-operative off from there. Be loosely creative in this procedure. (Photo shows only 12 splitters; I forgot one hither but added it afterward.)
 View in gallery
 When you're assembling the splitters, be sure to spiral them together firmly simply don't overtighten. Besides, check to make sure that there is sufficient space for each lightbulb; that is, don't accept two sockets aimed at the same space, considering yous won't be able to fit two lightbulbs at that place.
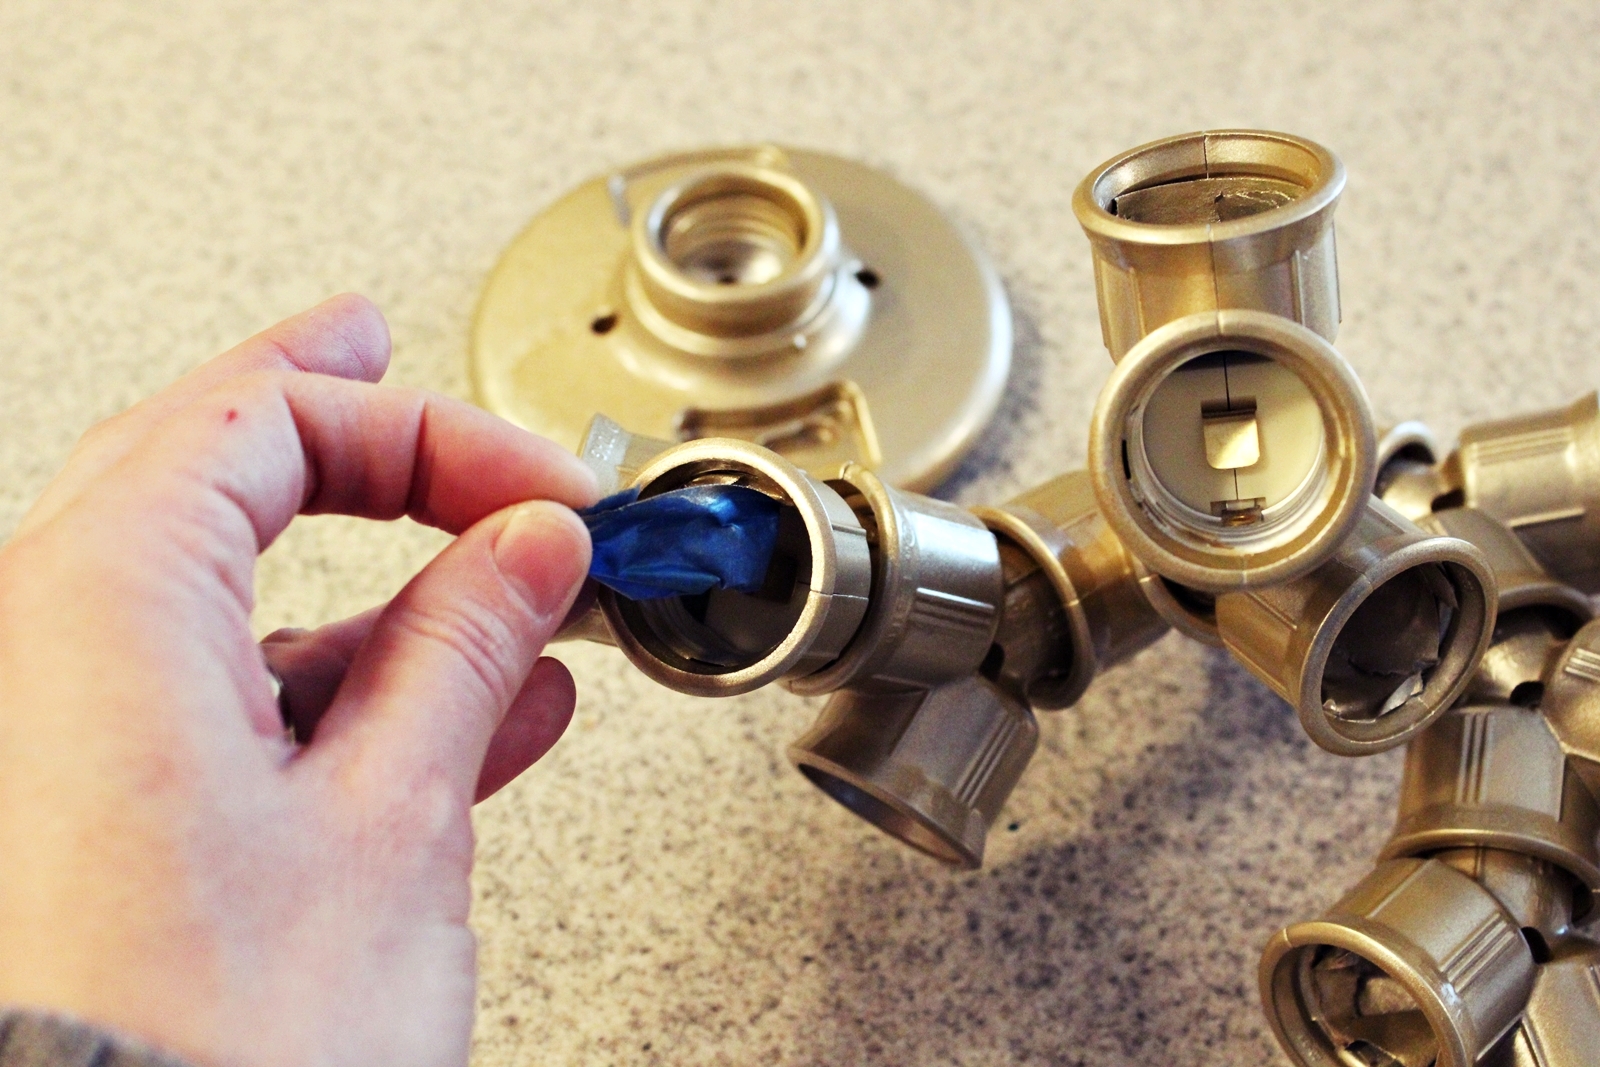
Step 2: Record off electrical.
 View in gallery
 When you're happy with the configuration, tape off all electrical components. This includes inside each exposed socket as well as the very acme (or base, depending on how you think about information technology) splitter attachment. Too tape off electrical component within your porcelain canopy.
 View in gallery
 Your completed, taped off co-operative light configuration might look something like this when you're washed.
Stride three: Paint canopy and branches.
 View in gallery
 With your electrical components safe backside painters' tape, you lot're gear up to spray pigment your fixture. Spray several very lite coats of the colour of your choice, and make sure y'all change the angle of your spraying (move around the configuration) and the calorie-free fixture itself. At that place are tons of nooks and crannies that are easy to miss if you're not careful. I did about eight coats in full, rotating everything each time.
Step four: Remove all record.
 View in gallery
 This one's pretty self-explanatory. Be careful not to twist your socket splitters (and potentially crack the paint) as you remove the painters' record. Double cheque to make certain all electrical components are clear of paint.
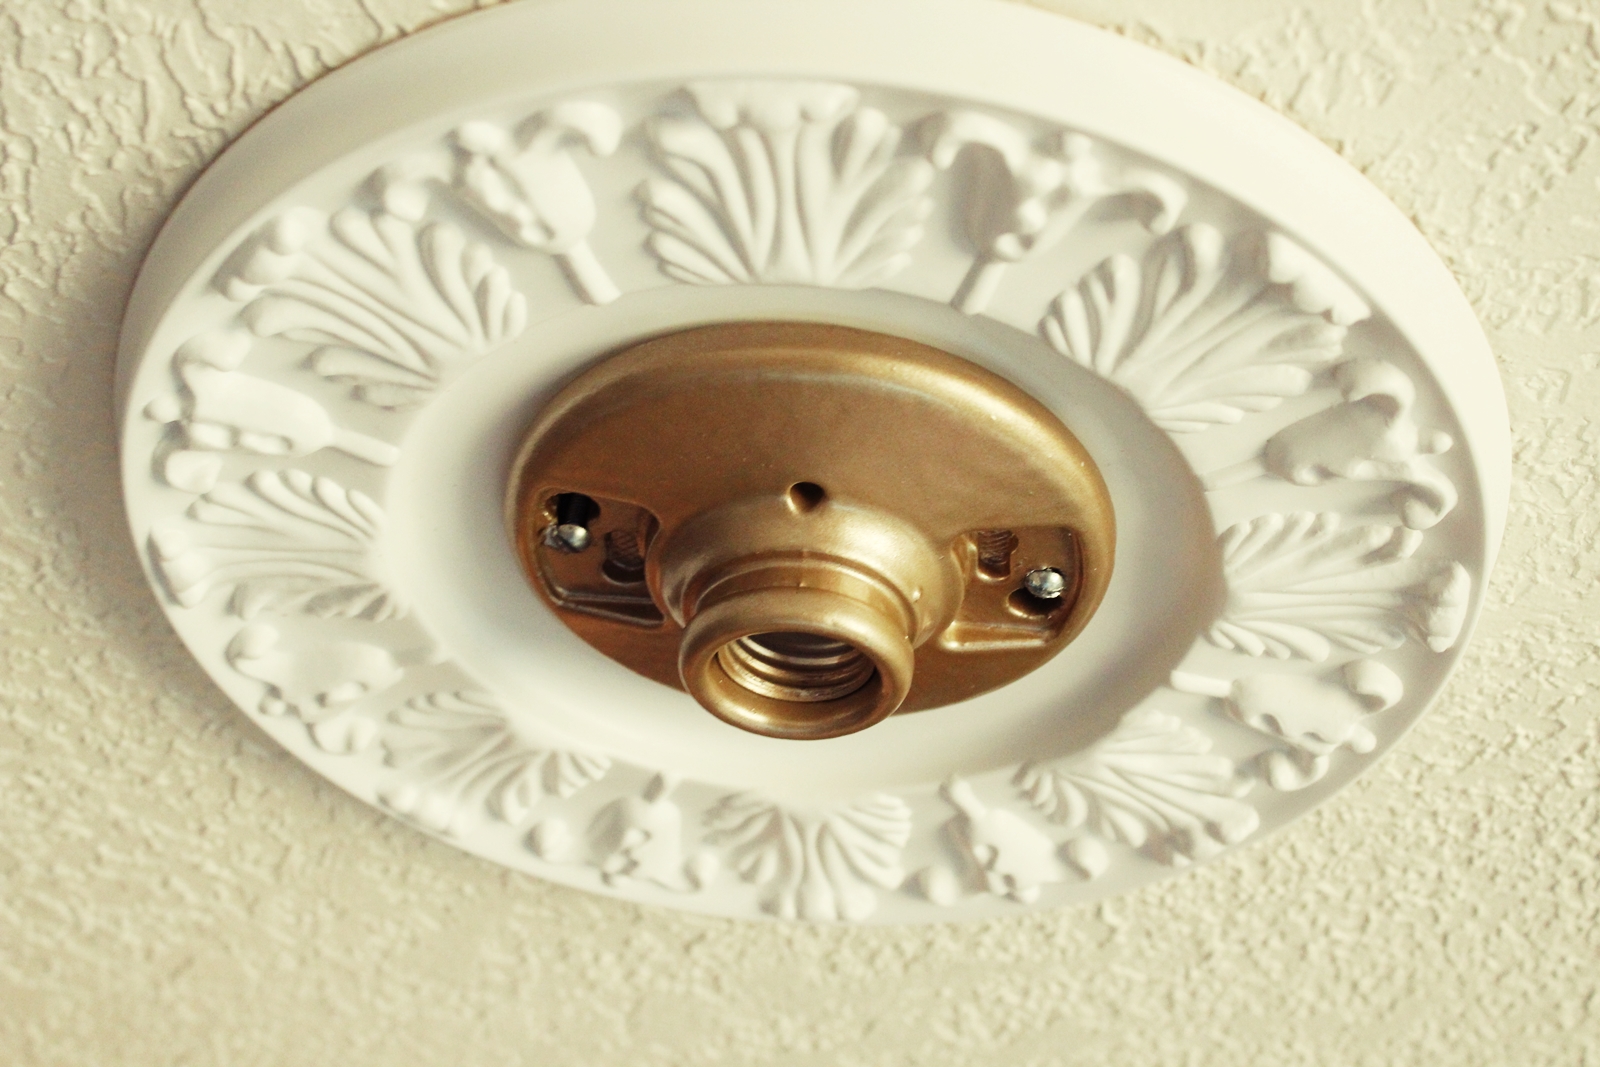
Step five: Fix to mount the branch lite: Remove existing lite fixture.
 View in gallery
 Assuming you're building this DIY branch light every bit a replacement for an existing fixture, simply flip the breaker to the existing light fixture (so there is nil electricity running to the wires), then un-wire and take the existing fixture down. You should be left with a basis (uncovered) wire, two electrical wires, and two screws protruding from the electric box.
Pace 6: Loosely place medallion in identify. (optional)
 View in gallery
 If you're using a ceiling medallion (I used a 10" plastic one, spray painted matte white), set information technology against the ceiling before you wire your canopy.
Footstep 7: Wire the canopy.
 View in gallery
 Adhere each electrical wire to the awning, equally shown. Always exist careful when working with wiring; enquire for help if you need it. (Annotation: I didn't need the assistance, per se, merely my begetter was visiting and needed a project, and then he hung this light for me. Hooray for fathers.)
Stride eight: Mount porcelain awning.
 View in gallery
 When your wires are securely fastened to the porcelain canopy, it's time to mount the canopy. Retrieve the two screws that were poking out of the ceiling from removing our existing low-cal fixture? Apply those to mountain the awning. Slide the screw heads through the larger holes on the canopy, then twist gently to align the screws with the smaller holes.
 View in gallery
 Tighten the screws securely. This volition also concord the medallion perfectly in place. Don't overtighten!
Step ix: Attach branch calorie-free.
 View in gallery
 Carefully screw in the base of operations socket splitter of your co-operative light, taking intendance to avoid cross-threading or overtightening.
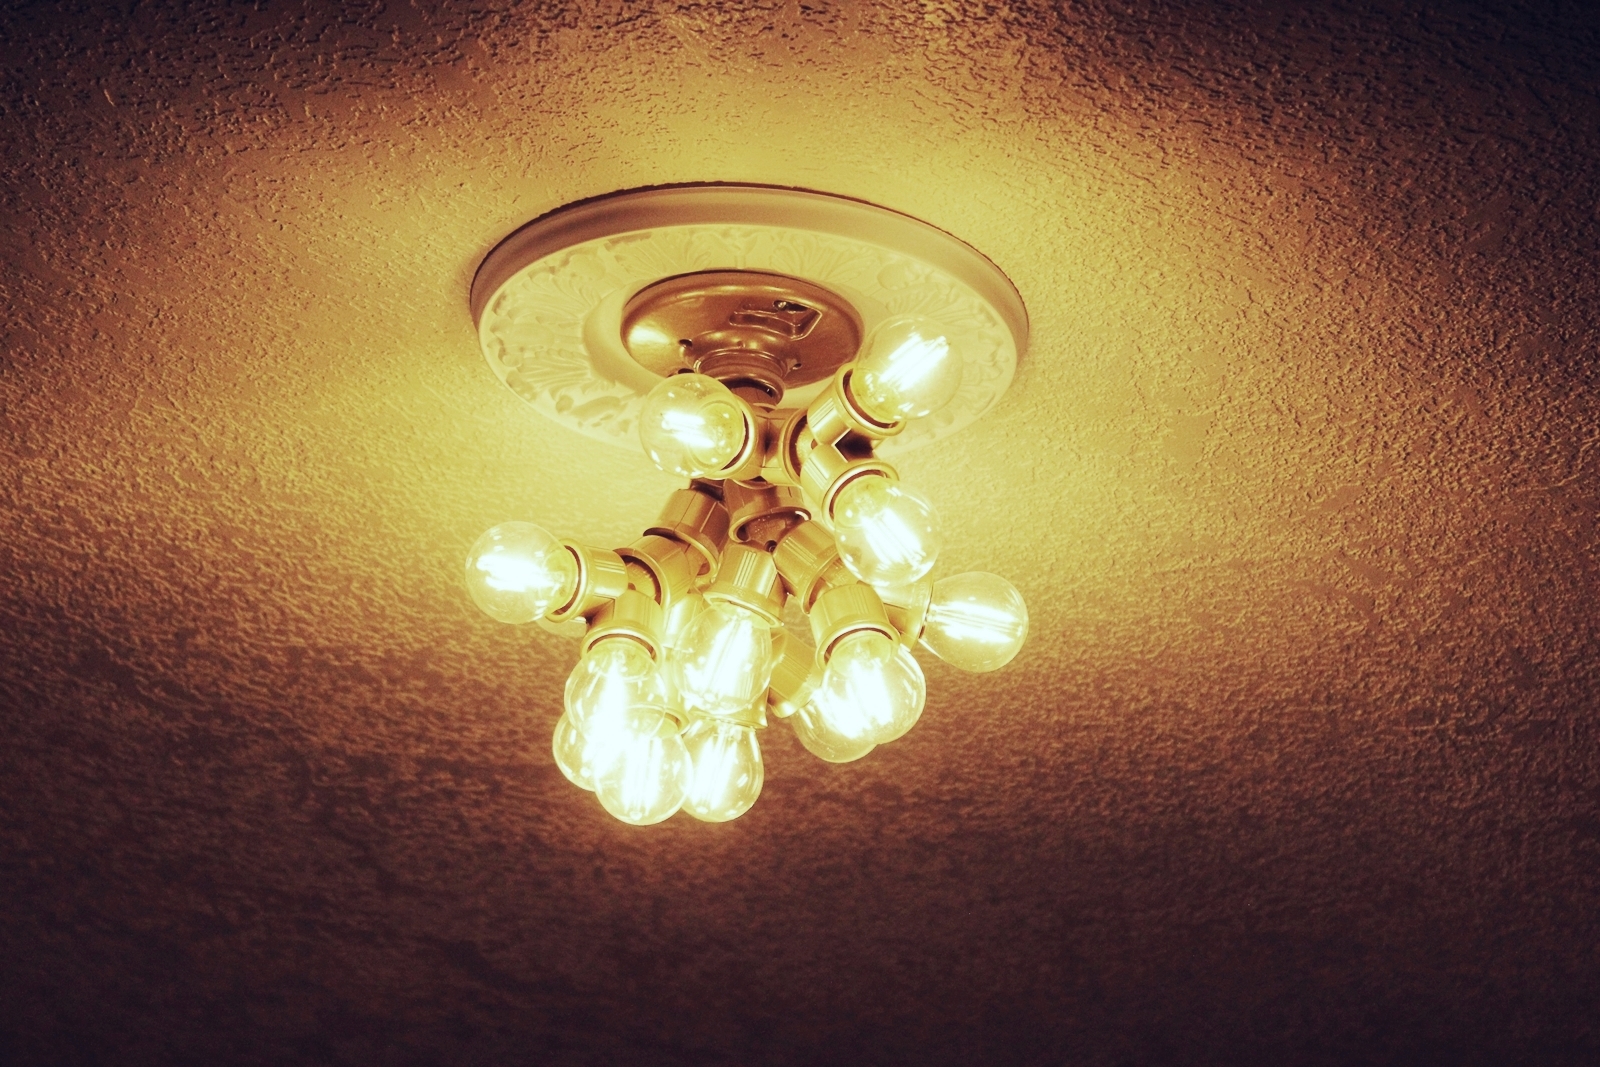
Step 10: Install bulbs and turn information technology on.
 View in gallery
 Screw in your fourteen globe light bulbs, flip the billow to turn the electric dorsum on, and turn on your lite. This pic doesn't do the gloriousness justice, but trust me. Yous're going to be amazed at how brilliant and modern and crawly your branch light is.
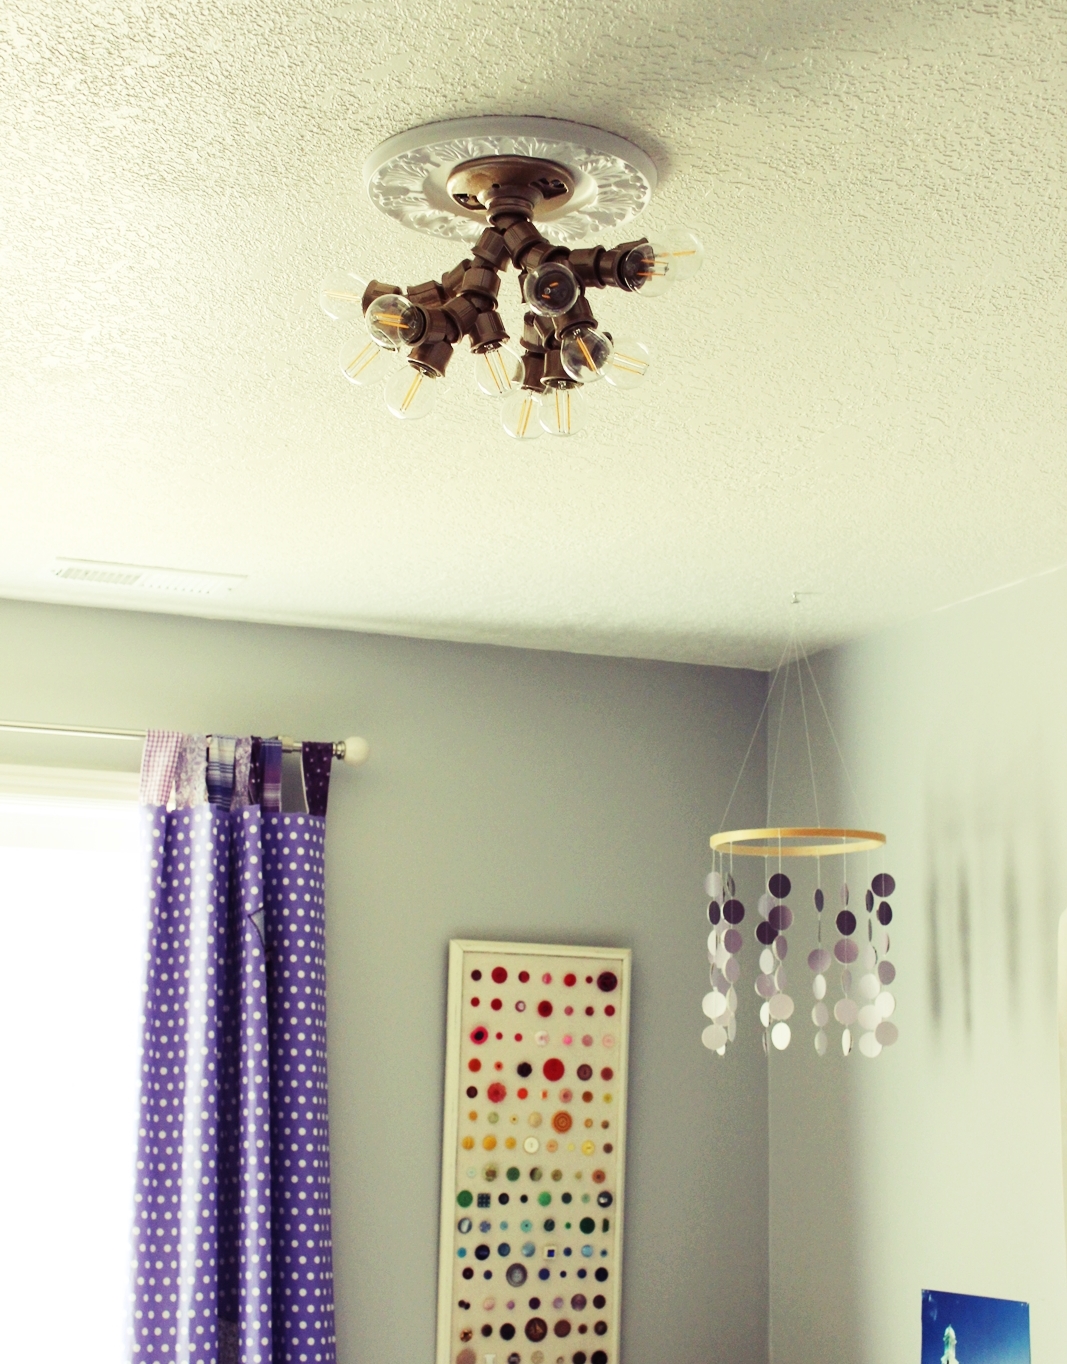 View in gallery
 Hither'southward the co-operative light installed in a toddler's room. It's fashionable and well-proportioned for such a space; the branch light would also look awesome in an entryway, a home office, a bedroom, or whatever room where information technology won't be overwhelmed, really.
 View in gallery
 Good luck on your DIY project in creating this branch light. I hope you lot love yours equally much as I love mine!
rodriguezfead1962.blogspot.com
Source: https://www.homedit.com/diy-ceiling-light-fixture/
0 Response to "DIY Ceiling Light Fixture Made With Branched Out Socket Splitters"
Post a Comment